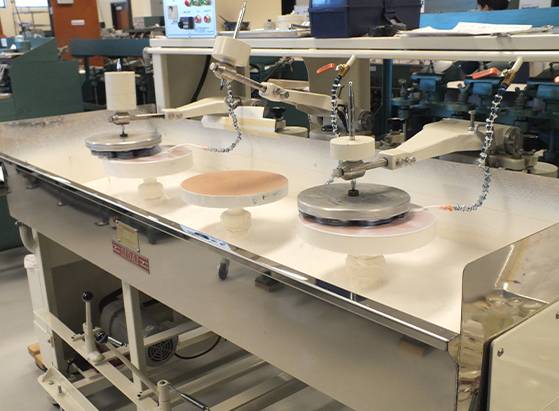
Grinding Tools and Test Plates

Test plates are used as a reference to test Surface Flatness, Power, displacement, Irregularity, and Radius of Curvature. Before interferometers were so widely used, test plates were the only method for optics fabricators to verify the flatness of a particular optical surface. The flatness is verified by placing the transparent test plate (as a reference) against a polished surface. With monochromatic light shined upon the two contacted surfaces, fringes can be observed through the transparent test plate. The fringes create an image that looks like a topographical map.
With this fringe map, opticians and quality control personnel observe the number of fringes and the fringe irregularity to determine if required optical surface specifications have been met during polishing. With experience and a good eye, opticians can determine if the optics are within the required specification or if they need more polishing.
Rainbow Research Optics has an ever growing list of test plates, in house, available for use.
